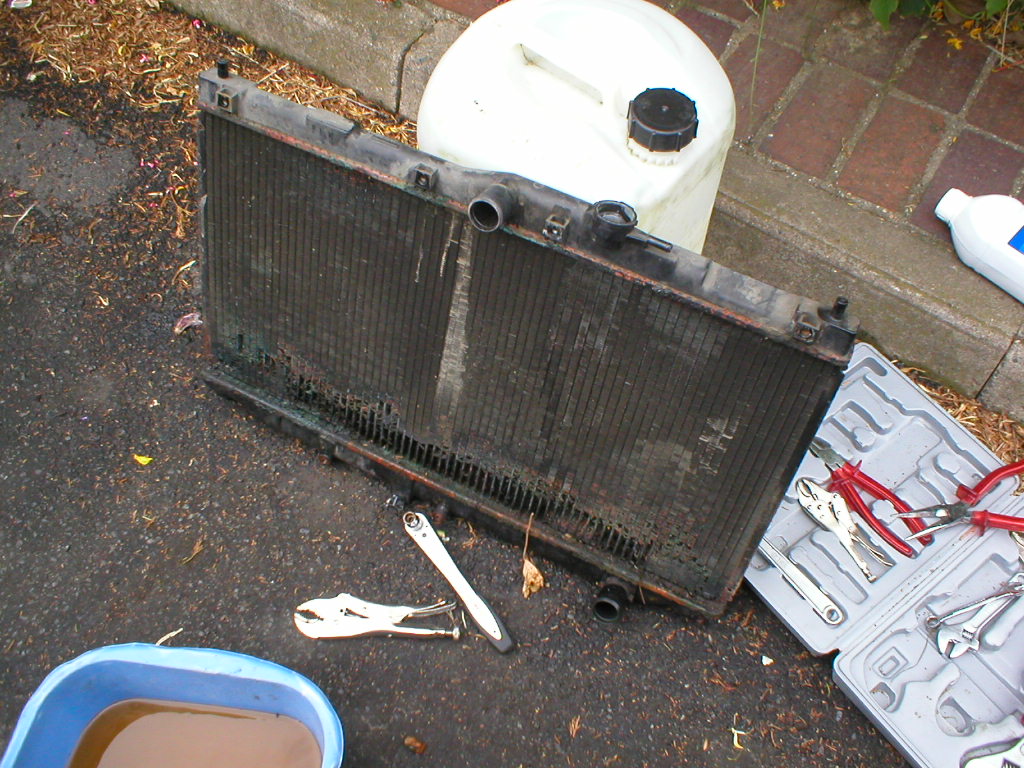
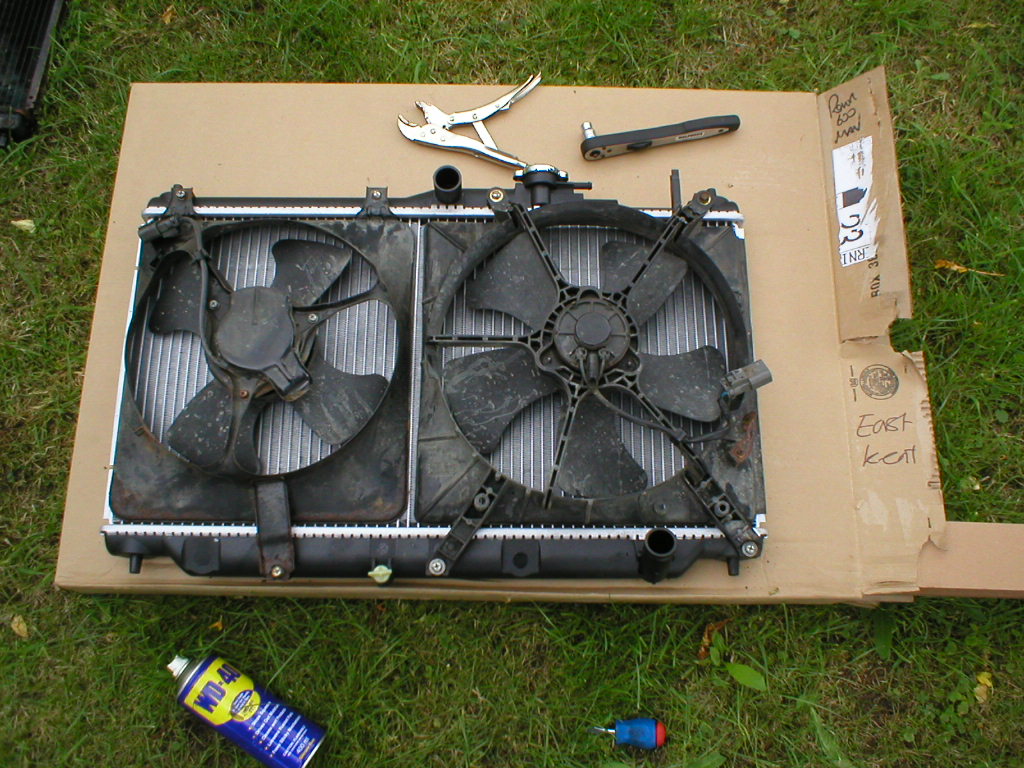
Rover 600 Radiator removal
Only remove the radiator when its condition necessitates its replacement and rad weld will no longer do.You may also need to partial lift out the radiator to get to the heads of thebolts holding the cooling fan mountings. Here is my step-by-step guide, not as easy as the Haynes manual makes out.
- Disconnect the battery negative lead if you feel inclined to do so. I think every section on Haynes starts with this but come to think about it even when working with electrics I still leave the battery connected or else how you going to test things?
- Drain the radiator system by unscrewing the V shaped key at the bottom middle rear of the radiator. You can access this from underneath the car or from above.
- Disconnect the top hose with pliers.
- Remove the wiring for the nearside cooling fan. The clip pulls outward to release it from the metal lug, push the plug up while holding the clip. The separate the plug by pushing the plastic retaining clip in and pull apart. Below this plug as another wiring which is attached to a supporting lug. Just remove this, there is no need to pull the plug apart.
- Pull the tube connecting the expansion bottle to the radiator cap off and for easier access remove the expansion tank. You need a screwdriver to lift it away from the bracket and pull the bottle up. The offside wiring is fiddlier as it is even lower and the lug is more corroded probably. Remove this as with the first by pulling the retaining clip out ward and forcing the plug away from the lug. Yes my lug bent up as well.
- There is a wire on a cable tie clip attached mid way offside rear of the radiator. This needs to be removed as well. I prized it out with a screwdriver and a bit of force.
- Remove the plates holding down the radiator.
- The bottom hose is too difficult to remove and put back on where it is so follow the path of the bottom hose to where it is held in a supporting bracket. Undo the bolt holding this bracket to the engine casing.
- Make sure the pliers are within easy reach. Now you can begin lifting the radiator up slowly check for snags with loose plugs and the pipes with the heat shielding around them. Once lifted out the bottom hose can be removed as you can see what you are doing and you can get to the clip. Haynes manual would have you remove the bottom hose with the radiator in situ.
 |
 |
- Recover the rubber mounts if they have lifted out with the radiator and place them back in their respective wells.
- If you are removing the fans just unbolt them from their mountings. Replace or swap around the bottom bolts, as no doubt these are badly corroded and if you did use Mull grips, replace them.
- Do what ever you have to do for your radiator either get the new one fitted with the fans or clean up and back flush your old one.
- Refit is the reversal of the removal procedure. Place the bottom hose on first and then lower on to the rubber mounts. Grope around to make sure the radiator is sitting true then clip everything back. Use WD40 before rejoining plugs because you never know.
- Once all refitted undo the bleed valve on the thermostat housing, follow the bottom hose, and at the back there is the thermostat housing, on top there is a bleed valve, loosen this, and top up with your coolant mixture, I think it was just around 4litres. Tighten the bleed valve when coolant comes out. Put the radiator cap on; check your expansion bottle, job done.